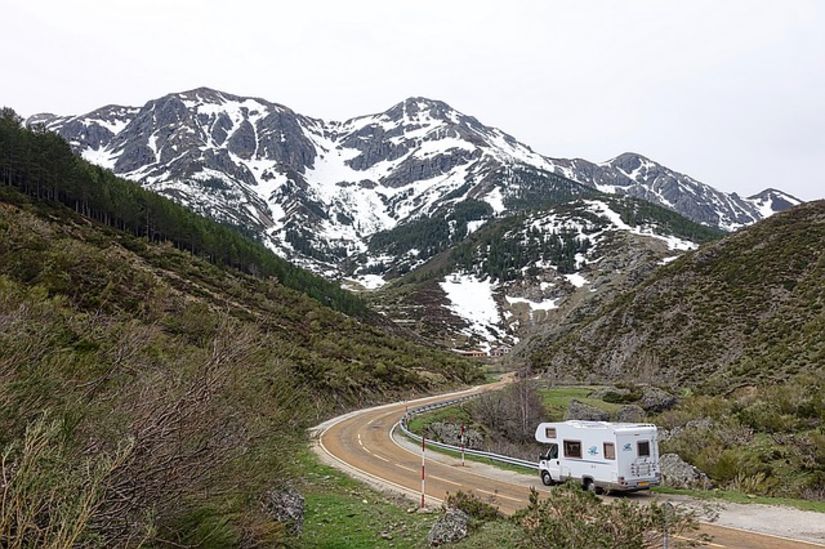
Preparing your RV for Winter Storage
Having an RV can be a real pleasure, allowing you to visit state parks and do other traveling while bringing a small home with you. However, winter in northern areas can be brutal on your RV, unless you winterize it correctly.

You may want to take it to an RV specialist for the best job, but you can do it yourself. To start, you’ll need to get the following items together.
- Your RV owner’s manual. This will show you where all the valves are for your vehicle.
- Two to three gallons of non-toxic antifreeze. After you flush the antifreeze out of the tanks at the end of winter, there will still be residue for awhile.
- A water heater bypass kit.
- Hand tools for drain plugs.
With just a couple hours of work, these steps will have your RV ready to face the winter. For specific part locations, see the manual for your RV. These instructions should be good for most RVs, but if in doubt, contact your dealer or RV specialist.
- Before anything else, turn off the water heater and water pump. If you don’t you risk burning out the heater if you have the RV systems plugged in.
- Drain the holding tanks of water. You want them empty. Otherwise, water can freeze in the valves and tanks, causing damage.
- Drain the fresh water tank next, letting it empty as much as possible.
- Depressurize the water heater and remove the anode rod. This rod may look like a mess, but it’s meant to. It’s considered “sacrificial material.” The anode rod takes the water corrosion in the heater so the heater body doesn’t have to. Drain the water heater.
- Use air pressure to expel the rest of the water from the water heater, but don’t overdo it. About 40 to 50 psi should do the trick. Next, do the same for the rest of the water system.
- To get the rest of the water from the system, turn on the kitchen faucet and let the water pour free until only air comes out. Use the hot water a cold water sides. Use the exact same for the bathroom sink. For the toilet, hold down the flusher until all the water is gone. Run the hot and cold from the shower, whether inside or outside. These steps will get the rest of the water out of the line.
- Remove the inlet hose from the water pump and use this to pump antifreeze into the system. To get the antifreeze flowing through, run the hot and cold faucets in the sinks, run the toilet, and run the shower, until the pink antifreeze comes through. That will fill the water systems with antifreeze and protect them.
- Close the heating system with the anode rod.
- Pour antifreeze into the sinks and the shower drain. Also, leave your faucets open over the winter to protect them from expansion. This is a simple step that can make a big difference.
- Dump the holding tank one more time to make sure to get rid of any water that has settled since you started.

Just because you’ve winterized your RV doesn’t mean you can’t use it during the coldest season. However, you will not be able to use the water systems while camping in the winter. The exception to this is the toilet. To flush it, chase it with antifreeze rather than using the flush pedal.
This video goes through most of what I’ve covered here. Use it in conjunction with these instructions.
Make sure to winterize your RV every year and you’ll be able to enjoy it for a long time.
StorageFront makes no guarantees or warranties regarding the information contained in this article and is not responsible for any damages. We’re enthusiasts and provide this guide as a starting point. Consult your mechanic for questions.


